
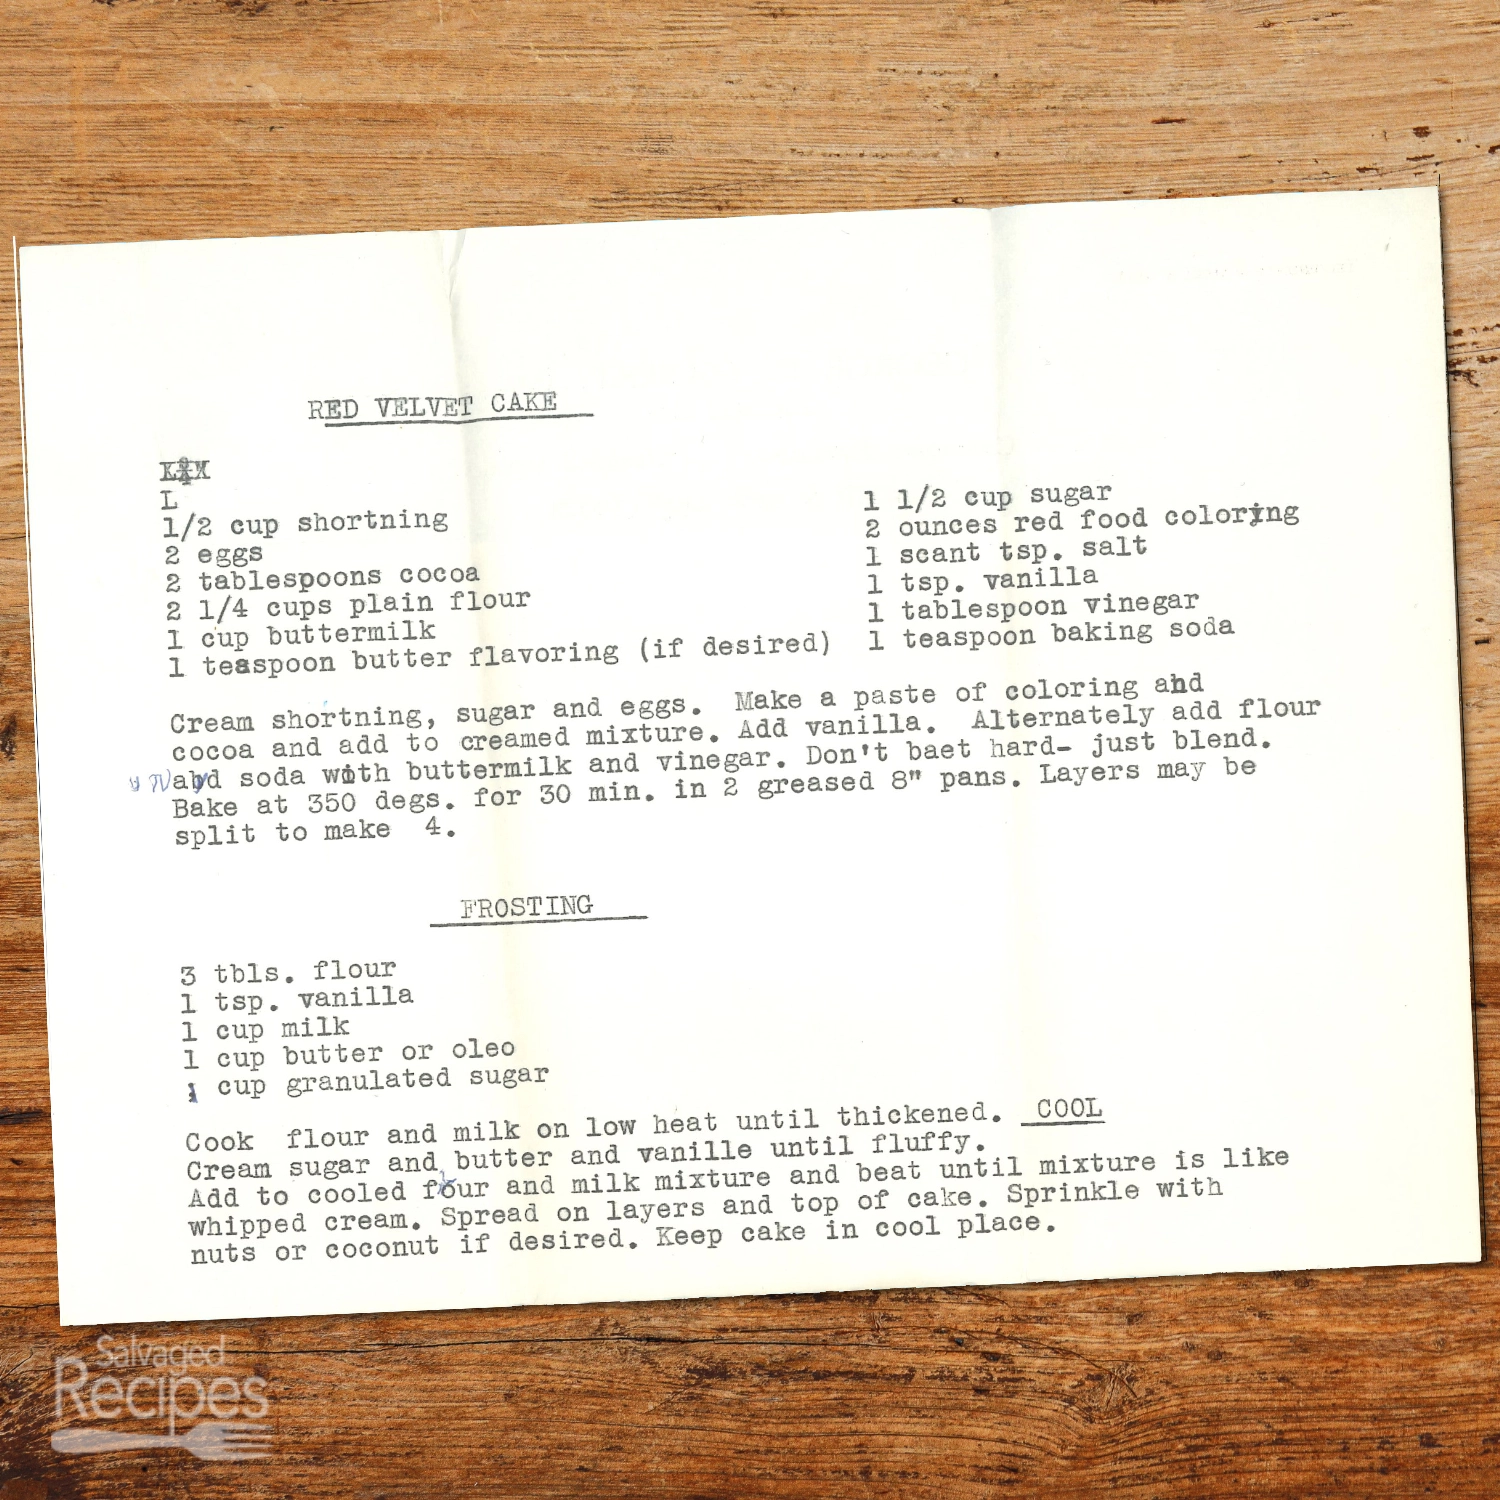
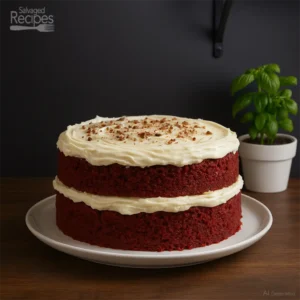
Red Velvet Cake is a timeless Southern dessert known for its striking red hue, velvety crumb, and perfect balance of cocoa and vanilla flavors. Enhanced by tangy buttermilk and a hint of vinegar, this cake bakes up tender and moist, making it a showstopper for special occasions. Traditionally layered and topped with a light, creamy frosting, it offers a beautiful contrast of flavors and textures. This version stays true to the classic style, using old-fashioned frosting instead of cream cheese, making it a true heritage recipe that evokes a sense of nostalgia and celebration.
Ingredients
Cake:
- ½ cup shortening
- 1½ cups sugar
- 2 eggs
- 2 oz red food coloring
- 2 tbsp cocoa
- 1 tsp salt (scant)
- 2¼ cups plain flour
- 1 tsp vanilla extract
- 1 cup buttermilk
- 1 tbsp vinegar
- 1 tsp butter flavoring (optional)
- 1 tsp baking soda
Frosting:
- 3 tbsp flour
- 1 tsp vanilla extract
- 1 cup milk
- 1 cup butter (or margarine)
- 1 cup granulated sugar
- nuts or coconut (optional, for garnish)
Instructions
Cake:
Step 1: Prepare Oven and Pans
- Preheat oven to 350°F (175°C). Grease and flour two 8-inch cake pans.
Step 2: Cream Base
- In a large mixing bowl, cream shortening, sugar, and eggs until light and fluffy.
Step 3: Add Color and Cocoa
- In a small bowl, mix red food coloring and cocoa into a paste. Add to the creamed mixture and blend well.
Step 4: Add Vanilla and Dry Ingredients
- Add vanilla extract. Alternately add flour and buttermilk to the creamed mixture, mixing just until blended.
Step 5: Activate Leavening
- In a small cup, combine baking soda and vinegar. Add immediately to batter and stir just until incorporated.
Step 6: Bake
- Divide batter evenly between prepared pans. Bake for 30 minutes, or until a toothpick inserted in the center comes out clean.
Step 7: Cool
- Let cakes cool in pans for 10 minutes, then remove to wire racks to cool completely. Split each layer if desired for four layers.
Frosting:
Step 8: Cook Flour Mixture
- In a small saucepan, cook flour and milk over low heat, stirring constantly, until thickened. Cool completely.
Step 9: Beat Sugar and Butter
- In a separate bowl, cream together sugar, butter, and vanilla until fluffy.
Step 10: Combine
- Add cooled flour mixture to the creamed butter mixture. Beat until light and fluffy, resembling whipped cream.
Step 11: Assemble Cake
- Spread frosting evenly between layers and on the top and sides of the cake. Sprinkle with nuts or coconut if desired.
Tips
- Use gel food coloring for a deeper red without thinning the batter
- Do not overmix once flour is added, this keeps the cake tender
- Substitute butter for shortening for a slightly richer flavor
- Chill layers before frosting for cleaner assembly
- Toast nuts or coconut before sprinkling for extra flavor
- Use cake strips for more even baking
- Let frosting cool completely before combining or it will separate
- Store cake in a cool place as directed on the card
- Make layers a day ahead for easier assembly
Nutrition
Calories: 480kcalCarbohydrates: 62gProtein: 5gFat: 24gSaturated Fat: 11gPolyunsaturated Fat: 6.1gMonounsaturated Fat: 6.9gTrans Fat: 0.6gCholesterol: 55mgSodium: 350mgPotassium: 150mgFiber: 1gSugar: 40gVitamin A: 550IUCalcium: 55mgIron: 1.8mg